


Before we started DIY-ing (is that a word?), we hired someone to replace the back-splash, counter-tops, and flooring.


I just LOVE the Stone back-splash!

Since then, there have been many paint changes...
I think I first started off painting the kitchen yellow, then there was blue, and then green.
I have always wanted to paint the cabinets, but just wasn't sure what color or technique I wanted to do.
While I do love darker cabinets, because my kitchen is already so dark, I knew I needed to go with a white to lighten the room up.
I was originally going to go with a paint that didn't require sanding (like Annie Sloan), and then just give it an antique/distressed look myself.
Then I started seeing the RUST-OLEUM Cabinet Transformations Kit pop up everywhere on Pinterest!
After seeing a friend of mine do it to her own kitchen, I was SOLD!
This is the Kit that I bought. I needed 2 boxes. It comes with almost everything you will need! There is a list on the back of the box that tells you what else you will need to purchase, like the brushes & gloves!
The only other thing I would suggest having on hand, would be paper towels.
We ran out of the gauze that they provided for the glaze part. I used paper towels to wipe off the glaze, and that worked just as good.
Also, after you pick up the box from the shelf, you will then need to take it to the paint counter to have them mix your color.
I would suggest going online first, to pick out the color you want...
http://cabinets.rustoleumtransformations.com/colors.php
I went with the color PURE WHITE, but you will still need to have them mix that for you. =)

I would say that if you had 2 people working on this together and no distractions, you could finish your kitchen in 3 days, maybe 2 days.
I had my husband helping me on Day 1, my Brother helping me on Day 2, but then I was on my own after that!
It was quite an easy task, just a bit time consuming. The instructions that were included were very easy to follow.
I created an assembly line by using ladders & 2x4's...

If you can do this else where, I would recommend that, and not outside.
There were times when the wind would blow up debris on my newly painted cabinets.
AND...Here they are!!!

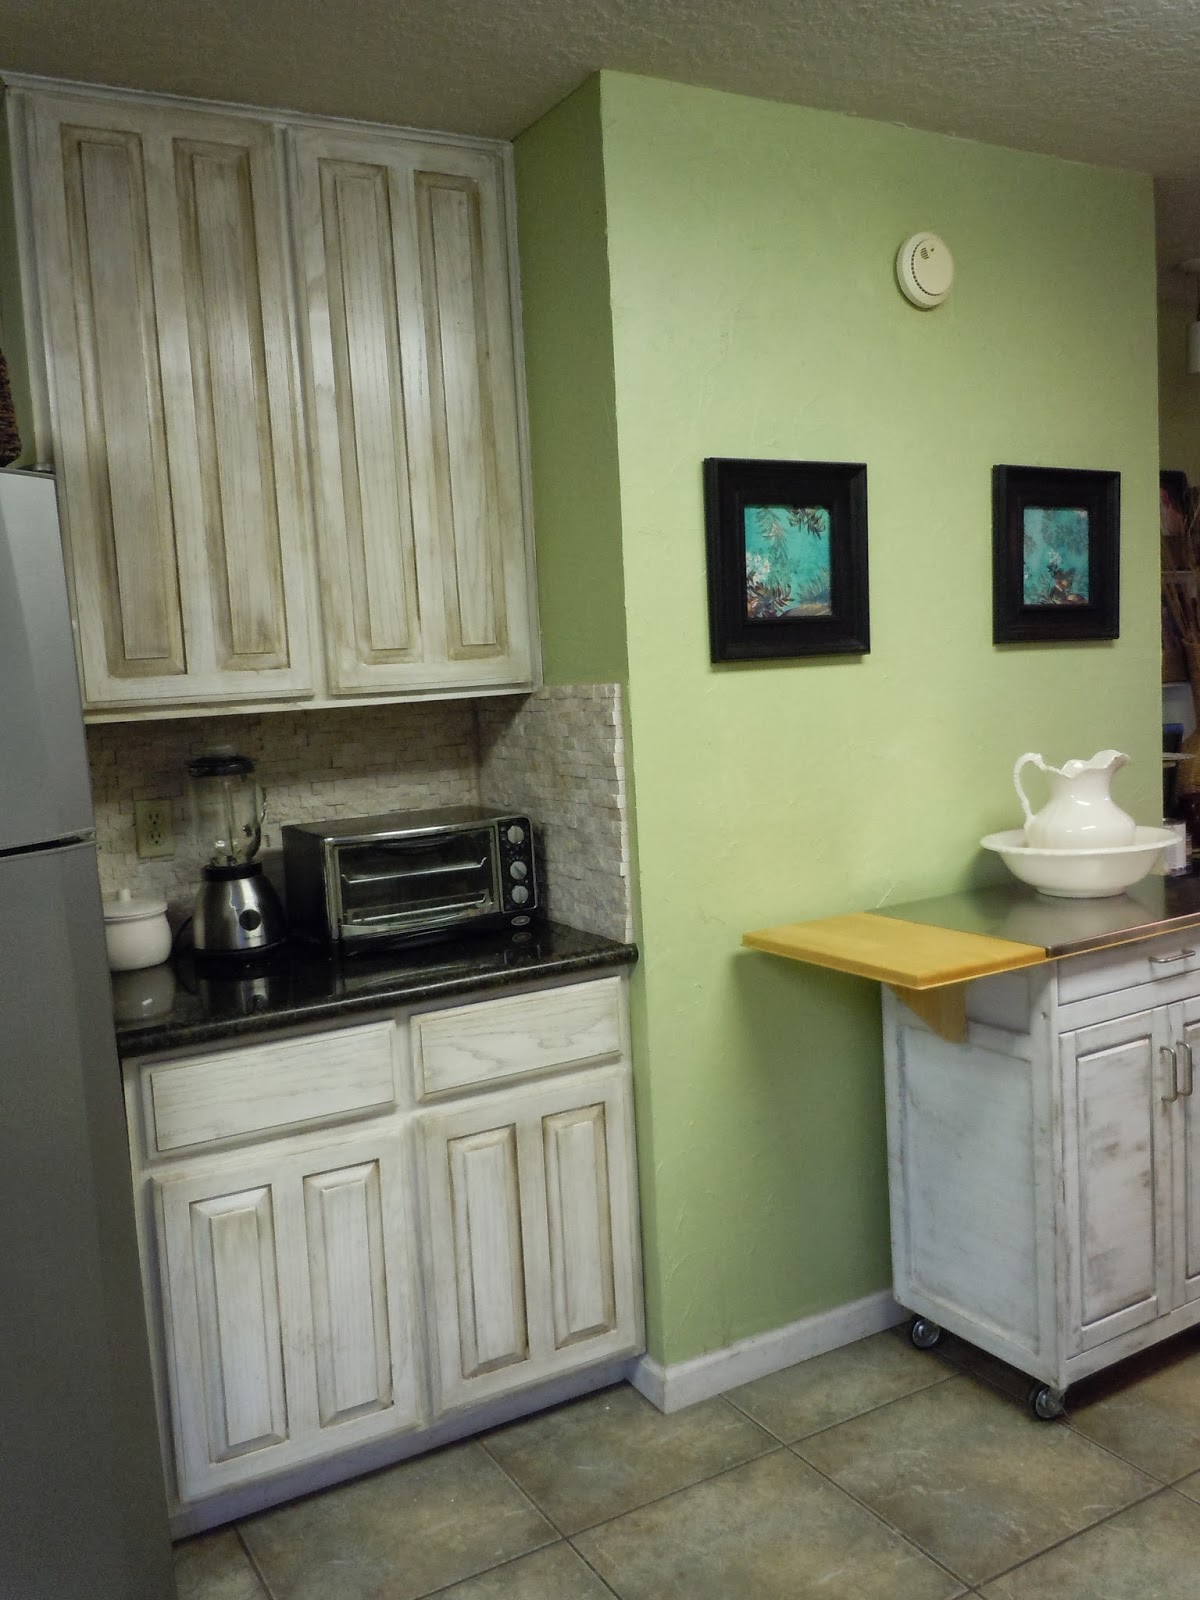


Here's a close-up of the cabinets...
You can see how the glaze brought out the grain in the wood!

Now that my cabinets are painted, I'm going to need to re-paint the kitchen again! The green looks fine, but I know a grayish-tan will look better.
So next on the agenda...
- paint the Kitchen/Dining Room walls
- paint the molding (needs a fresh coat of white paint!)
- paint or something the Kitchen pantry doors (I'm not sure what I'm going to do yet, but the pantry doors need a new look!)
- new light fixtures
- etc.
Soooo...GUESS WHAT?!
We are working on the spiral stairs again!!!
My carpenter brother has been working on my new Oak threads to replace the particle wood that was there before.
What's even more exciting is that the wood is coming from the trees off his land! I love sentimental things like that.
Thanks for looking!
~ Jenny xoxo
No comments:
Post a Comment