This past week I've been taking a break from painting, and well, all the "boring" stuff, and instead, doing a bit of crafting...
Actually, I take that back...I DID texture my daughter's wall, and I even painted, but it's not "finished" enough to where I can show you pictures. (I still gotta do a 2nd coat, and edging.)
If you're wandering how I "texture" my walls, it's actually very simple.
Here's the texture I use, any brand is fine.
...and I just do criss-crosses (or X's) onto the wall...
See how I apply it pretty thick to where it leaves a texture?
And here's what it looks like:
Now for the FUN stuff:
I was at Target one day, and came across the PERFECT lamp for my daughter's room, it was in the Clearance section for ONLY $5.00!!!...marked down from $20.00.
I had an extra lamp shade at home, except that it was RED!
No problem. I just took out my Acrylic Paint that I already had on hand, and 3 coats later...wallah!!!
(ignore stickers still on the lamp...I forgot to take those off...ha ha)
Remember a while back I showed you my stack of picture frames that I got for FREE at a Garage Sale? Well, I finally got around to doing something with them...
BEFORE:
...and with a coat of Acrylic Paint, they became THIS:
I only did ONE coat, because I wanted the original color of the frame to show through, to give it more of a distressed look...
I also used some of the frames for her pallet wall...
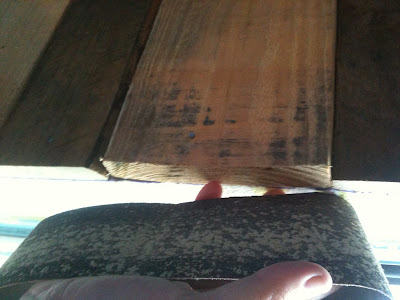
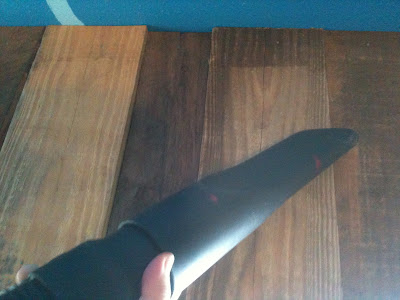
This time I sanded them down, and reapplied stain:
And here they are up on the wall...
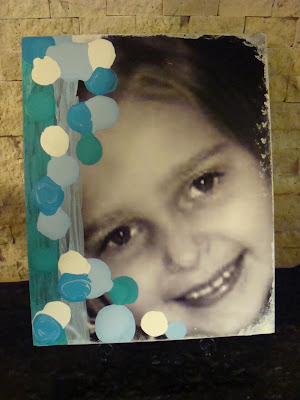
One evening I worked on making Canvas Photo's. I made 2 for my daughter's Room, and 2 for birthday gifts.
Here's what you'll need:
First you'll need to cut out strips of Scrapbook paper for the sides of the canvas, and glue those onto the canvas.
You'll also glue the picture onto the canvas, as well.
Once you have everything glued, apply a coat of mod podge (I used Matte Mod Podge) over the entire surface, the photos and the sides.
(You'll notice the bottom canvas is still drying.)
Once the Mod Podge is dry, that's when I got a little fancy and had fun with some Acrylic Paint...
For the edges, I used a wipe to dab paint all around the edges to blend in the paper strips and photo...
...and here they are!!!
Here's a side view:
And here it is all wrapped up, ready for the Birthday Girl!!!
I also managed to fit in some time with my Mom and Sister, and we worked on these:
(Yes, we even enjoy decorating with FOOD! ha ha)
Hopefully this next week, I'll finally finish painting my daughter's room.
I also have a few other crafting projects I need to do for her room. I'll keep y'all updated!
Have a blessed weekend!


