1.20.2013

"Gaming" End Table:

Have you ever been to a Cracker Barrel, and played a game of checkers while sitting on one of their Rockers?  That's one of the first things my kid's do when we eat at a Cracker Barrel.  

I've been wanting to make a "gaming" table for my own home, but it wasn't a top priority among all the other projects I had on my To Do List!


Recently I found an end table at a Goodwill Store for $5.99, but it came without the glass insert. 

It had really nice curves on the legs of the table, which I thought gave it potential. 


The first thing I did was apply liquid Sander Deglosser to the entire table.


After that dried, I painted it with Black Satin Paint...
((ignore un-finished paint job on the walls in the background...ha ha))


I was house-sitting my Sister's dogs over at her house which explains the different atmosphere in the next set of pictures.  You may also see lots of muddy paw prints on the floor, because it decided to rain that weekend.  Yea me. ;-)

I first framed the table...


...then flipped it over, and drilled in some more boards for the middle.


I liked the underlay look better, rather than having it a flat surface.
I also thought it would help keep the game pieces from falling off the table while the kids were playing.


I stained the wood with Golden Oak Wood Finish:


...and here it is!!!


...and here's a side-by-side view:


~ Jenny xoxo


1.07.2013

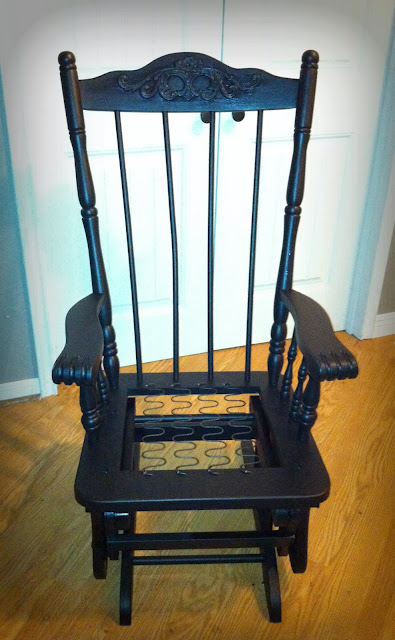
diy Paint/Glaze Rocking Chair:

Last week a friend of mine asked if I could paint her Rocking Chair Black with a Golden Glaze.  I have never painted in black before (except with Chalkboard paint), nor have I distressed with black paint, or even added glaze to my pieces.
I immediately went online to see what the process was, and realized that it was exactly the same as painting/distressing with white or any other color paint.  And that, I was familiar with. =)

Supplies Needed:

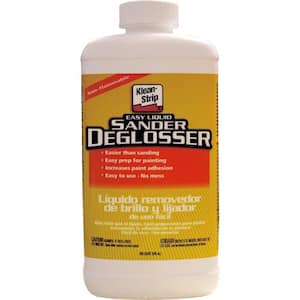
- Klean-Strip Easy Liquid Deglosser
- Black Satin Paint (I used Glidden)
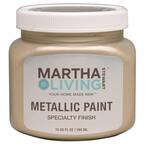
- Martha Stewart Living Golden Pearl Metallic Paint
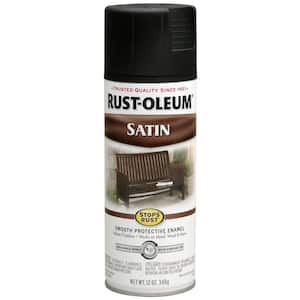
- Black Satin Spray Paint (I used a ACE Hardware brand)

Misc. Supplies Needed:

- gloves and a rag for the deglosser.
- paint brush suitable for Satin Paint (I just used the cheapest I could find)
- assortment of small sized paint brushes to get into the smaller nicks and crannies...
- Q-tip and toilet paper, paper towel, or rag for the Metallic Paint (I just used a Q-tip and toilet paper)

...and if you're a visual person like I am, here's a picture of everything I used:


Let's get started!!!

Here's a BEFORE picture of the Rocking Chair:


I first deglossed the entire Rocker, and while doing so, noticed that there was NO WAY I'd be able to paint around the mechanics with a paint brush, or the inside of the rocker...


So I sent the hubby to the local hardware store to pick me up some Spray Paint!

I turned the Rocker over, and spray painted all of the inside, and hard to reach places.
Even though the satin spray paint, and Satin paint were the same color and finish, it still looked a bit different.  So I then went over it all with my paint and brush, (or at least every part that I could reach), and it ended up blending it perfectly!  
It did take a few coats, and me taking a step back and walking around making sure I painted every single piece!  So that part was a little time consuming.


Why didn't I just spray paint the entire Rocker?  
I think it's just a preference thing.  
I just prefer the brush strokes better.  In my opinion, spray painting "looks" like it was "spray painted".  ha ha  If that makes any sense. =)

I then painted the rest of the Rocking Chair with a brush.  This took about 3 coats of paint.

Here's what it looked like once it was all painted black (before the glaze).


Now for the FUN part!!!...adding Golden Metallic Paint!!!


This stuff dries FAST, so you need to have a rag close by to wipe off/blend in almost immediately after applying.
So you'll need to do small sections at a time.


Here's a side-by-side view:


I hope the steps are easy to follow.

Painting furniture is pretty easy to do, just takes time and patience for this sort of thing. 

~ Jenny xoxo

P.S.  If you're wanting to seal and protect, Minwax Polycrylic is recommended.
If you're going for a natural distressed look, then you may want to leave it un-sealed.

If you want a more distressed look, you can check out my post on black paint, distressed, and glazed here.



1.05.2013

Golden Metallic Paint:

In continuing with my Metallic theme...

My last post was about the lamp base that I painted, distressed, and glazed.

To be honest, I really wasn't sure what I was going to do with this basket when I picked it up from Goodwill for $4.99. =)

It wasn't until I started glazing the lamp base, and happened to see the basket in the corner of my eye, that I then decided it might look pretty to glaze wicker.

And did it ever!
I'm in love with my new basket, which now holds all of my magazines!


Close-up:


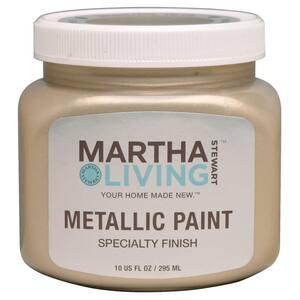
I just painted it with Martha Stewart Living Golden Pearl Metallic Paint:


See!  A 5 minute fix-er-roo to spruce things up a bit!

~ Jenny xoxo


1.04.2013

Black Paint + Metallic Gold

This week I went Goodwill-hopping with a friend, and found a lot of great stuff!  
Love when that happens! ;-)


We even stopped into a Habitat Re-Store, and things got a little bit craazzzyyy...ha ha
This is what happens when you are kid-free. =)


So the 1st thing I worked on from my Goodwill finds was the lamp base...

I purchased this for $5.99
((See that basket in the back?  That was also a Goodwill find.))


Of course, our kitty Oscar thinks I bought it for him!


So the very first thing I did was, wipe it down with some Liquid Sander made by Klean Strip.


I gave it a good 10 minutes to dry before adding the first layer of black paint.
((It took about 3 layers of paint.))


Next:  Take some sand paper, and "distress" it...


I then took a Q-tip and stained the wood...

((I used Golden Oak this time, because it went well with the Golden Glaze I was going to be using.))


Here is what it looks like after the distressing and stain...


I also added some Martha Stewart Living Golden Pearl Metallic Paint around the curves and grooves, and on top of the stained parts...

10-oz. Golden Pearl Metallic Paint

...and here it is!!!


Here's a close-up:


...and while I had the Metallic paint out, I went ahead and painted the basket too!
That will have it's own blog post, but here's a sneak peek...


Thanks for looking! =)

~ Jenny xoxo