Last week a friend of mine asked if I could paint her Rocking Chair Black with a Golden Glaze. I have never painted in black before (except with Chalkboard paint), nor have I distressed with black paint, or even added glaze to my pieces.
I immediately went online to see what the process was, and realized that it was exactly the same as painting/distressing with white or any other color paint. And that, I was familiar with. =)
Supplies Needed:
- Klean-Strip Easy Liquid Deglosser
- Black Satin Paint (I used Glidden)
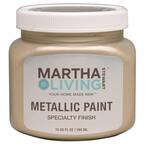
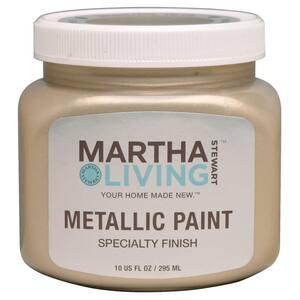
- Martha Stewart Living Golden Pearl Metallic Paint
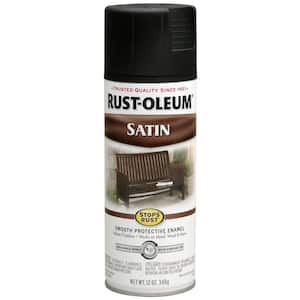
- Black Satin Spray Paint (I used a ACE Hardware brand)
Misc. Supplies Needed:
- gloves and a rag for the deglosser.
- paint brush suitable for Satin Paint (I just used the cheapest I could find)
- assortment of small sized paint brushes to get into the smaller nicks and crannies...
- Q-tip and toilet paper, paper towel, or rag for the Metallic Paint (I just used a Q-tip and toilet paper)
...and if you're a visual person like I am, here's a picture of everything I used:


Let's get started!!!
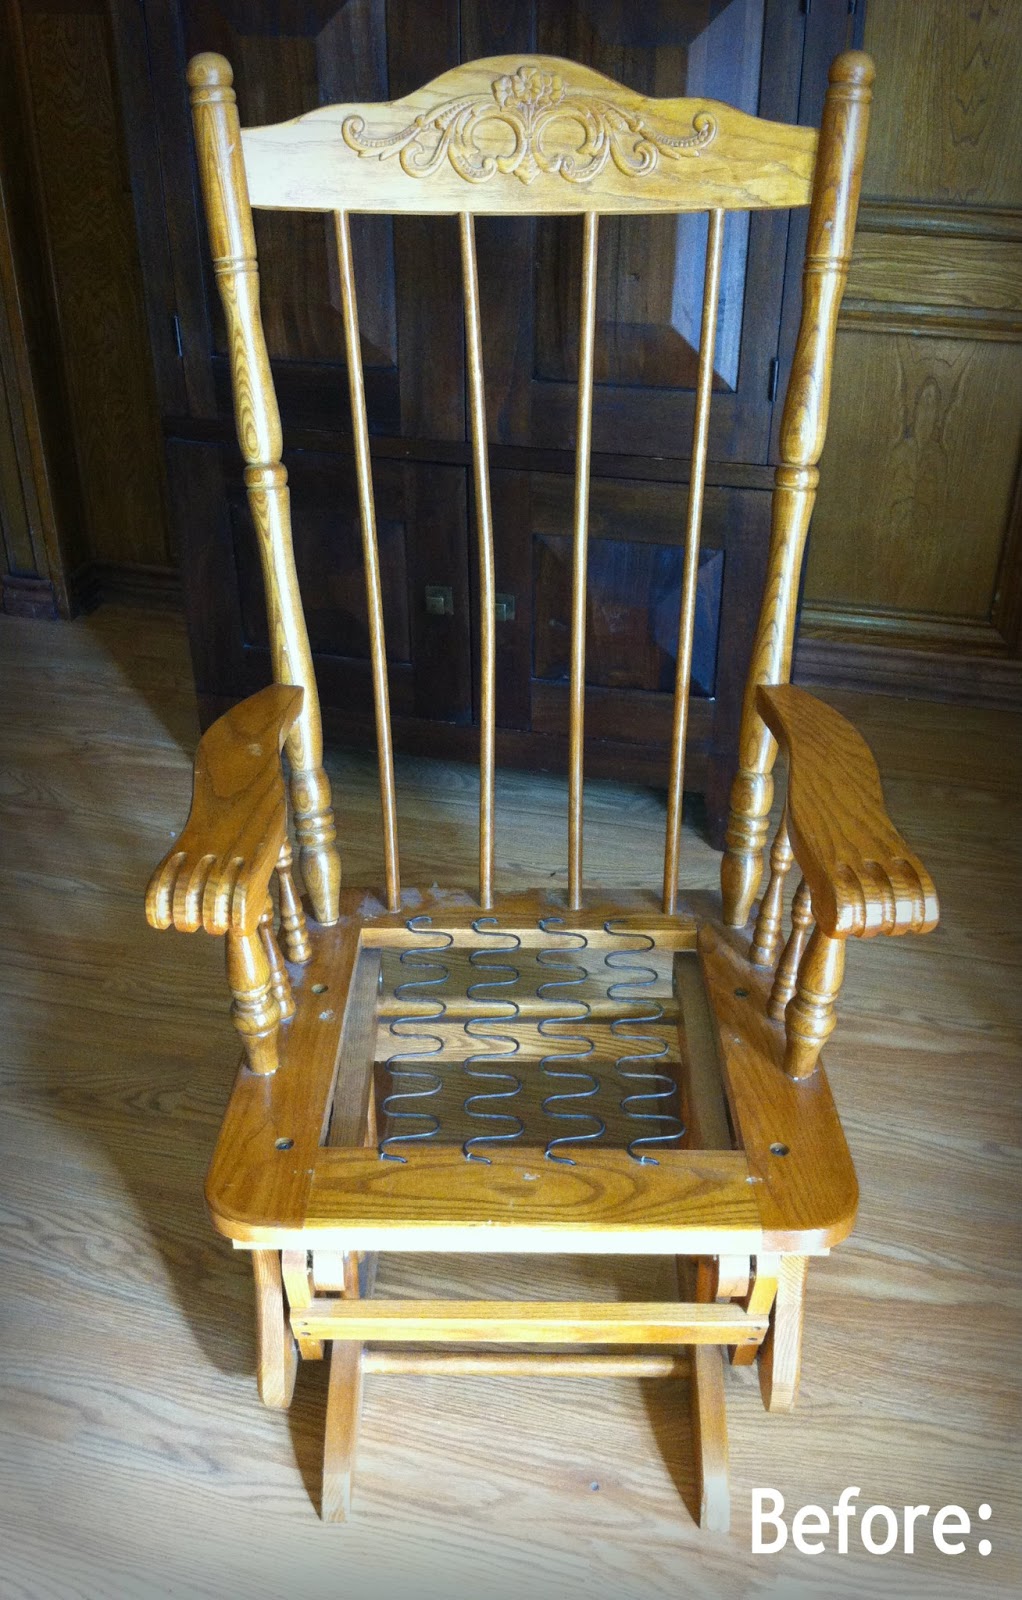
Here's a BEFORE picture of the Rocking Chair:
I first deglossed the entire Rocker, and while doing so, noticed that there was NO WAY I'd be able to paint around the mechanics with a paint brush, or the inside of the rocker...
So I sent the hubby to the local hardware store to pick me up some Spray Paint!
I turned the Rocker over, and spray painted all of the inside, and hard to reach places.
Even though the satin spray paint, and Satin paint were the same color and finish, it still looked a bit different. So I then went over it all with my paint and brush, (or at least every part that I could reach), and it ended up blending it perfectly!
It did take a few coats, and me taking a step back and walking around making sure I painted every single piece! So that part was a little time consuming.
Why didn't I just spray paint the entire Rocker?
I think it's just a preference thing.
I just prefer the brush strokes better. In my opinion, spray painting "looks" like it was "spray painted". ha ha If that makes any sense. =)
I then painted the rest of the Rocking Chair with a brush. This took about 3 coats of paint.
Here's what it looked like once it was all painted black (before the glaze).
Now for the FUN part!!!...adding Golden Metallic Paint!!!
This stuff dries FAST, so you need to have a rag close by to wipe off/blend in almost immediately after applying.
So you'll need to do small sections at a time.
Here's a side-by-side view:
I hope the steps are easy to follow.
Painting furniture is pretty easy to do, just takes time and patience for this sort of thing.
~ Jenny xoxo
P.S. If you're wanting to seal and protect, Minwax Polycrylic is recommended.
If you're going for a natural distressed look, then you may want to leave it un-sealed.
If you want a more distressed look, you can check out my post on black paint, distressed, and glazed here.