6.30.2013

Entryway Board & Batten Wall:

I recently had surgery to remove some kidney stones, and they put in some stints to help pass the smaller stones.
Needless to say, the month of June has been filled with doctor visits, ER visits, and then a few days ago, surgery!
It's going to take a little while for me to recover, and get back to my normal-self.  Not a whole lot of projects going on here!  Sorry. =(

I thought I would take this time to catch y'all up on a few projects going on that I haven't had time to post about yet. 

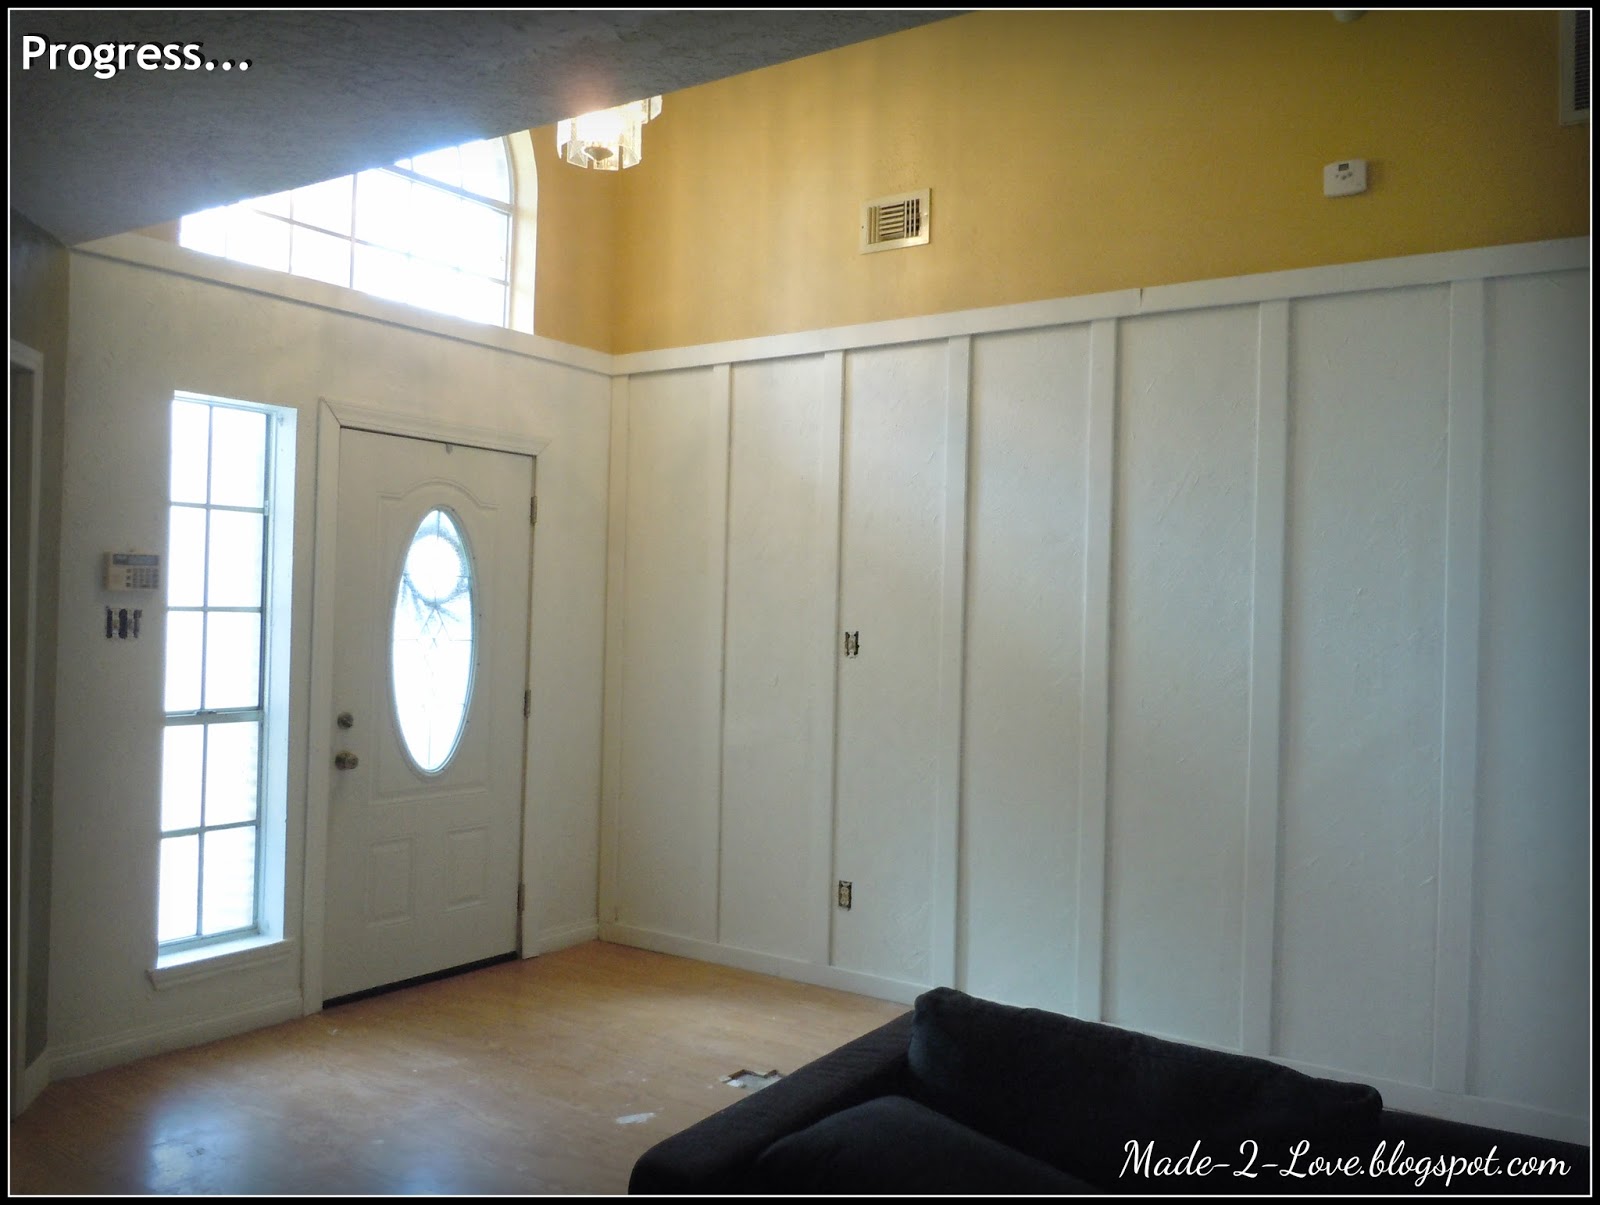
After taking out the stairs, and installing the glass french doors where the wet bar was, we were left with this...

BIG, TALL, OPEN WALL SPACE!!!


I needed to break this wall up somehow, since it seemed so overpowering!  You can't tell from the pictures, but that wall extends to the ceiling of the 2nd floor!
I also wanted to paint this wall a lighter color, because the wooden walls in the Living Room make the room appear so dark!

A Board & Batten wall seemed like the perfect solution!
It was so easy, I was able to do this by myself.  I'm sure my husband really appreciates me when I don't involve him in my projects!  hee hee

Supplies Needed:

- 1x4 boards
- Nail Gun
- Level

This is the nail gun we have, and it works GREAT!

Ryobi 18-Volt One+ 18-Gauge Cordless 2 in. Brad Nailer


I started off with the floor board (moulding), and then just nailed the other boards above that.


I made sure to use a level to make sure all of the boards were straight.


Here's what it looked like once all of the boards were up...


I went and textured the walls, because I don't like the old 80's popcorn textured look.


I then painted over the wood & walls with a white semi-gloss paint.


We weren't able to find a perfect match for the flooring to cover up where the stairs once were.  You can read all about how we took out our stairs here.
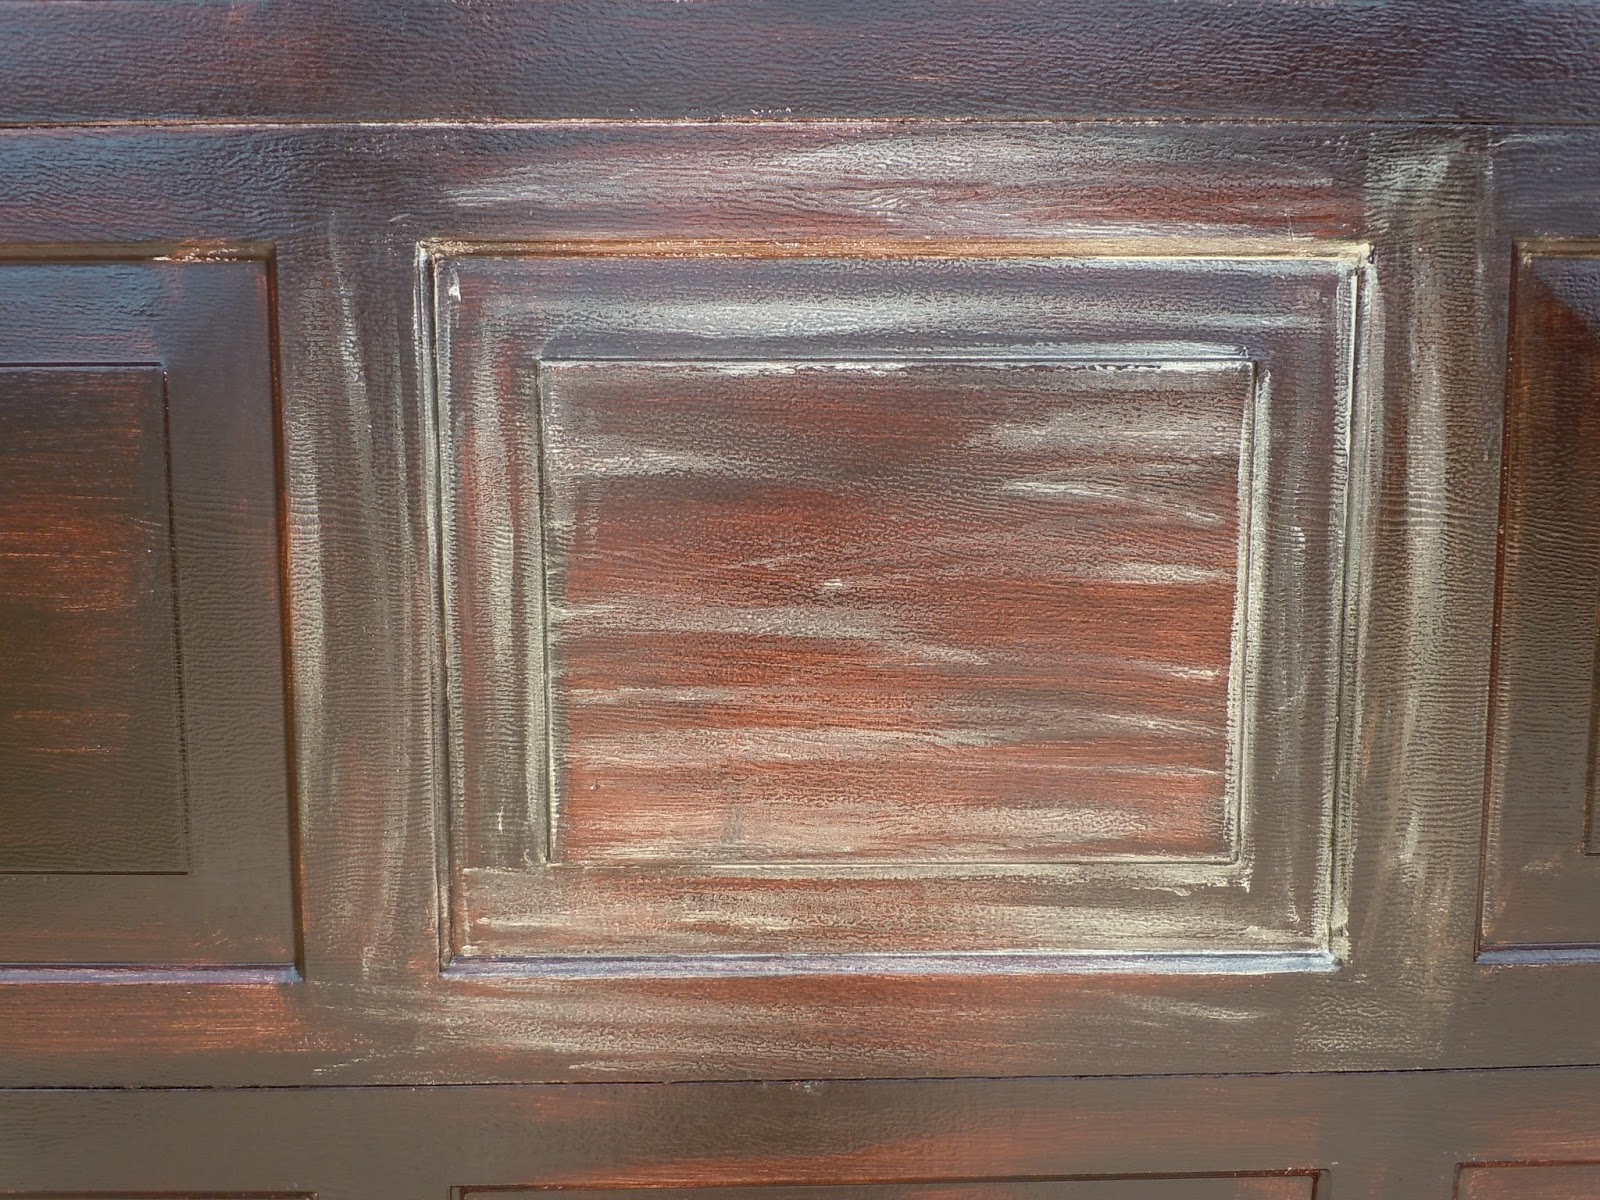
We found something pretty similar though, so it won't be a noticeable difference.  Eventually I would like to replace all of the flooring with laminate wood that looks more like "wood".  In the meantime, I may end up staining (yes, apparently you can stain laminate wood flooring) the existing wood to get the color I want. 


My Dad is in the process of removing the small portion of tile you see in the above picture, and installing wood down in that open space.

~ Jenny xoxo


6.29.2013

Up cycled Floor Lamp Base:

I have 2 floor lamp bases that I'm going to be up cycling!
Today's post is to show you how I re purposed one of those into an 
Outdoor Planter.

So here's the base that I had...


It was pretty easy to take out all of the wiring on this particular base.
I just unscrewed parts of the pole to pull out the cord.  Easy peasy!


I used a metal basket for the top...


...wire & wire cutters..


I just wrapped the wire all around the pole & basket until it was sturdy!


To make it a little more pretty, I wrapped it with electrical tape.

...added some decorative moss...


...and TADA!!!

Maybe there would have been an easier, more professional way to adhere the basket to the pole, but this worked for ME! =)


And here it is...

an Outdoor Planter!!!


What do you think?

Easy, right?!

I'm actually looking for an oval mirror to hang from my other lamp base.
A friend of mine showed me a picture of a re purposed lamp base turned into a standing mirror!  It was gorgeous!
So as soon as I come across the perfect mirror, I'll give you all the details on that one!

~ Jenny xoxo


6.17.2013

More Pallet Art...

I'd have to say, out of everything I do, I really enjoy painting & distressing!

I have talked about Pallet Art many times in previous posts, and I think it's kind of become my signature design.  (If you want to call it that??)  

So this past week I worked on a few pallet pieces, and also refurbished a chair.

Take a look! =)

This one was made for Teacher gifts.

Distressed Black & Gray:


Distressed Black & Lime Green:
 
 
I loved the lime green so much, I decided to paint this chair I had picked up from a Garage Sale...


I'm about to start making a BUNCH of these, since I just signed up for a Craft Fair this Fall!  Eeek!
 
Stay tuned!  I am about to update y'all with some more progress on how the house is coming along! 
 
Hey!...I may even give y'all a video tour of the house this time!
 
~ Jenny xoxo


6.08.2013

diy Faux Wooden Garage Door:

I have always loved the look of a Wooden garage door, or even better, the Carriage Garage Door!

One day while browsing through Pinterest, I came across a diy version of a faux wooden garage door!
I pinned it, and vowed that I was going to do that to my own garage door.
It was several steps long, and it was going to take several coats of different types of paint to achieve the look!

Then one day while talking with my neighbor, she had heard of another way to achieve the look.  This only took 1 step, and only 1 paint product!

It's called...

Minwax 1-qt. Mahogany Gel Stain

It's just like regular stain, but it has a thick consistency, and will adhere to other surfaces other than wood.


So the very 1st thing I did was clean the garage door!


The arrows show the direction I moved the brush...


I went over it with a golden glaze to give it a 3rd color tone...


To blend it in, I went back over it with the brush I used for the gel stain...


A little bit time consuming, but pretty easy to do!
The stain pretty much does the work for you!

~ Jenny xoxo

Since this post first published, I have updated my garage door...yet again!
Check it out!  Click on the links below: