5.26.2012

"Money Tree" & a Photo Collage...

If you remember, I found a "money tree" at a garage sale a while back.  Actually, my Sister made it, and she was selling it for $1.00.  I already had in my mind what I was going to do, but wasn't sure exactly how I was going to go about giving the flower pot a new color.

Here is that "money tree"...

I think originally I was going to paint the flower pot, then I thought maybe I could cover it with scrapbook paper and mod podge.  Of course, that wouldn't work because the scrapbook paper would be too thick to lay over the grooves of the pot.  That's when TISSUE PAPER came to mind!  Genius! 


All I did was brush Matte Mod Podge over sections of the pot, lay torn up tissue paper over the "podge", and brush some more "podge" on top of the tissue...maybe the pictures will explain it better.


TA DA!!!...
This dried sooo beautifully, it's like a textured flower pot!  Sooo pretty.


Next, I took off all of the ribbon that was tied to the branches.
I snipped off most of the flowers that were in the pot, and hot glued them onto the branches...


And here's another close-up of the flower pot...


This evening we also did a collage of frames above her bed...
(pictures were covered to protect the innocent)


So her room is coming along...slowly.  ha ha 
I'm hoping to be done with her room by the end of the month.


5.25.2012

Texture, Paint, Mod Podge, Acrylic Paint, Oh My!

This past week I've been taking a break from painting, and well, all the "boring" stuff, and instead, doing a bit of crafting...

Actually, I take that back...I DID texture my daughter's wall, and I even painted, but it's not "finished" enough to where I can show you pictures.  (I still gotta do a 2nd coat, and edging.)

If you're wandering how I "texture" my walls, it's actually very simple. 

Here's the texture I use, any brand is fine.

...and I just do criss-crosses (or X's) onto the wall...


See how I apply it pretty thick to where it leaves a texture?


And here's what it looks like:


Now for the FUN stuff:

I was at Target one day, and came across the PERFECT lamp for my daughter's room, it was in the Clearance section for ONLY $5.00!!!...marked down from $20.00.


I had an extra lamp shade at home, except that it was RED!


No problem.  I just took out my Acrylic Paint that I already had on hand, and 3 coats later...wallah!!!
(ignore stickers still on the lamp...I forgot to take those off...ha ha)


Remember a while back I showed you my stack of picture frames that I got for FREE at a Garage Sale?  Well, I finally got around to doing something with them...

BEFORE:


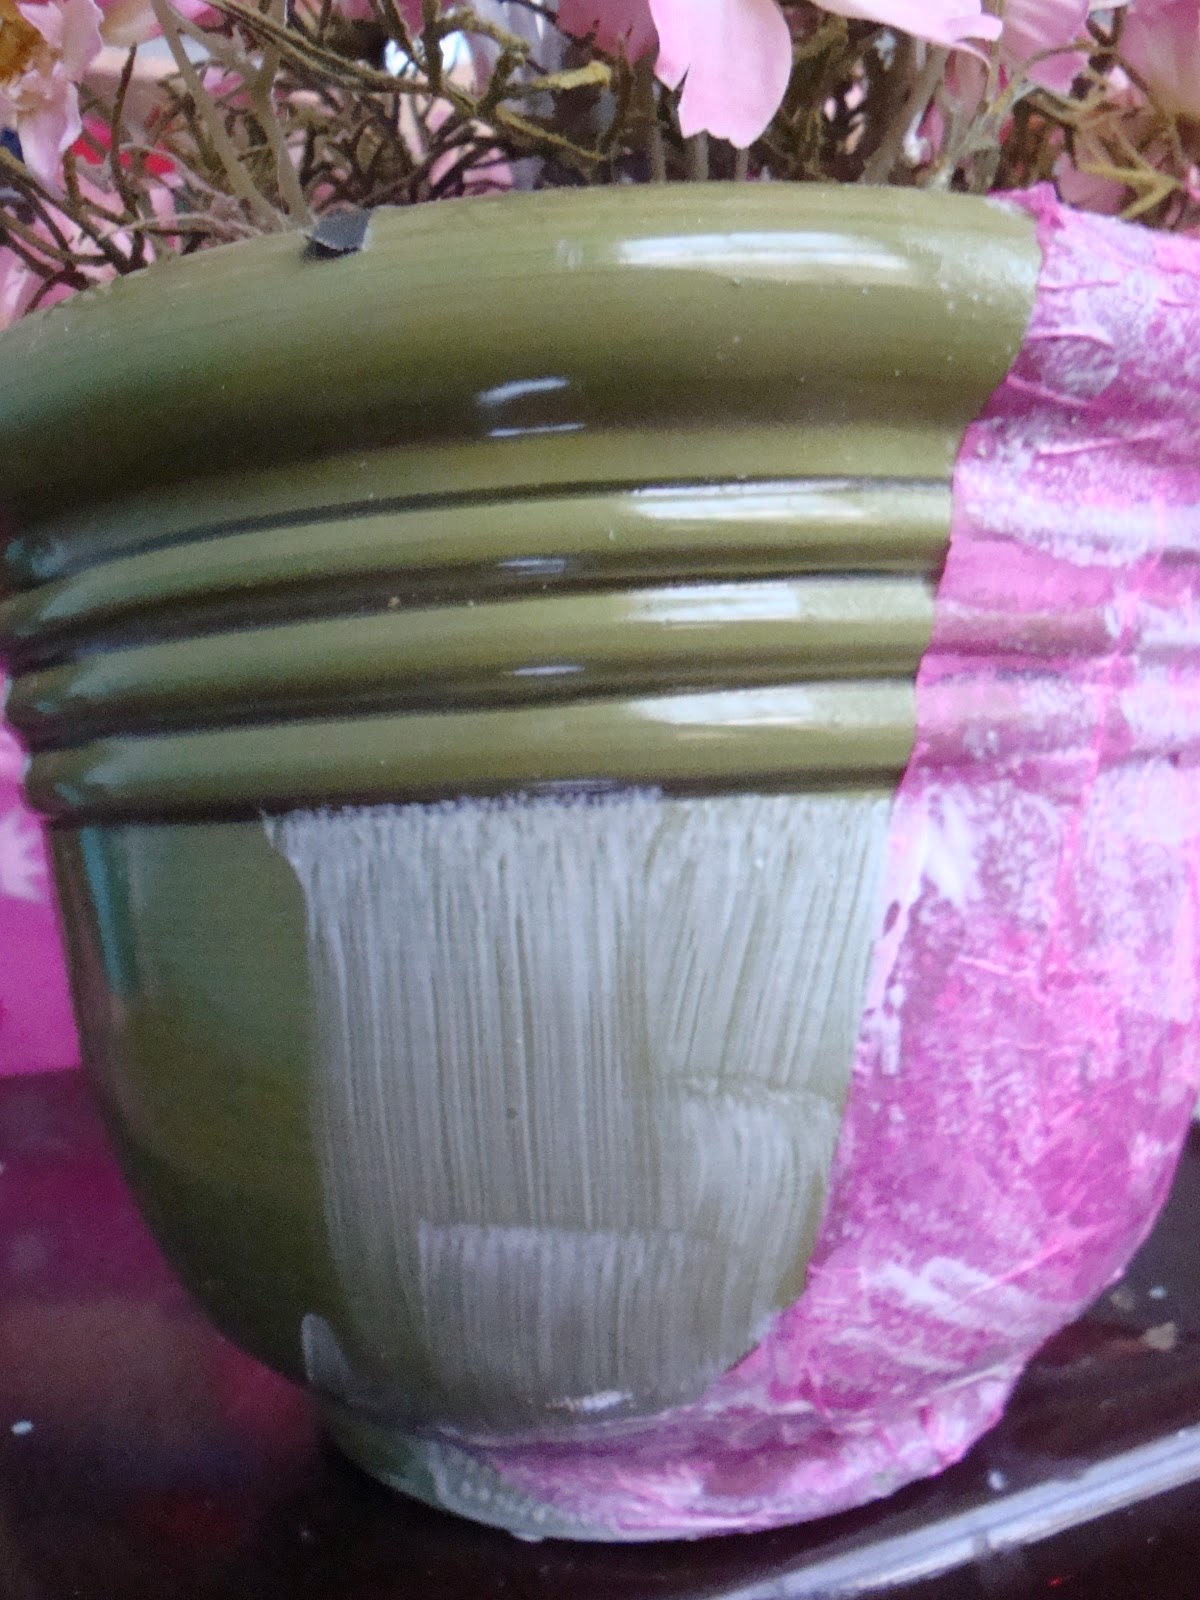
...and with a coat of Acrylic Paint, they became THIS:
I only did ONE coat, because I wanted the original color of the frame to show through, to give it more of a distressed look...


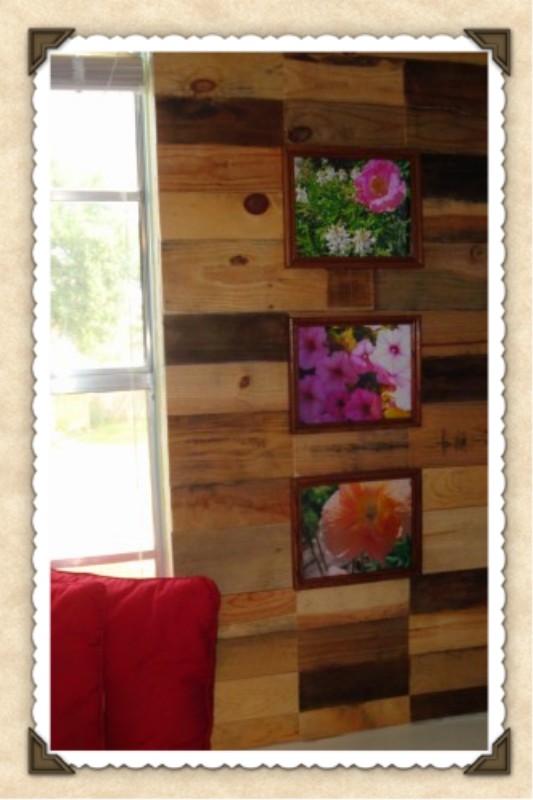
I also used some of the frames for her pallet wall...
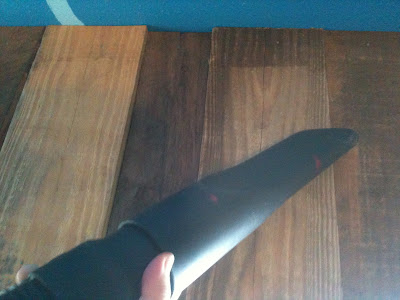
This time I sanded them down, and reapplied stain:


And here they are up on the wall...


One evening I worked on making Canvas Photo's.  I made 2 for my daughter's Room, and 2 for birthday gifts.

Here's what you'll need:


First you'll need to cut out strips of Scrapbook paper for the sides of the canvas, and glue those onto the canvas. 


You'll also glue the picture onto the canvas, as well.

Once you have everything glued, apply a coat of mod podge (I used Matte Mod Podge) over the entire surface, the photos and the sides.
(You'll notice the bottom canvas is still drying.)


Once the Mod Podge is dry, that's when I got a little fancy and had fun with some Acrylic Paint...


For the edges, I used a wipe to dab paint all around the edges to blend in the paper strips and photo...

...and here they are!!!


Here's a side view:


And here it is all wrapped up, ready for the Birthday Girl!!!


I also managed to fit in some time with my Mom and Sister, and we worked on these:
(Yes, we even enjoy decorating with FOOD! ha ha)


Hopefully this next week, I'll finally finish painting my daughter's room.
I also have a few other crafting projects I need to do for her room.  I'll keep y'all updated! 
Have a blessed weekend!


5.18.2012

The Pallet Wall!!!

If you remember back when I said we cut up all the wood from my stack of Shipping Pallets?...this is what I needed all of that wood for!

We built a wall made out of wood from shipping pallets!  This area will be some what of a reading nook area...so I wanted that comfy, cozy feeling look!

First I had my husband cut up all of the wood...


This is what the Room was looking like Before...


There were 3 sections of the wall that we then measured out...


After cutting the wood to size, we first applied Liquid Nails to the back of the wood, and then nailed the wood to the wall.  We started off using a hammer, and then switched to using a nail gun.  That worked much better!


After all of the wood was up on the wall, I sanded everything down.


Then used a Shop Vac to sweep up all the saw and dust from the wood, and surrounding areas.


I went around and stained a few pieces.  This would actually be easier to do BEFORE putting the wood onto the wall, but I wasn't sure if I was going to stain the wood, or do a little painting of the edges until after seeing it all up.


Here's what it's lookin' like right now.  I still have the entire room to texture/paint, so here's just a sneak peek...


Teacher End-Of-The-Year Gift!!!...Garden Art Sign!!!


...I then added a nail off to the side so that they could hang a garden shovel for decor.


Here's what it looks like with the shovel...


Here's another one...
I try to pick the wood pieces with holes in it, or that has imperfections...those are my favorite!


Thanks for looking! =)


The STAIRS!!!

These stairs actually need some work done to them...For one, they are sooo noisy!  I almost dread walking up and down them for this reason.  In order to fix that problem, we may need to take the steps apart, apply wood glue, and nail them back down.  I'm not sure if that's the "correct" way of going about fixing that problem, but it sounded pretty good, eh?  ha ha
They also need sanded down, and then stain reapplied, and some sort of protector...I think that's what the problem was...they were stained, but no protection coat was applied.
If you notice, there's also a banister missing!  ha ha
I also hate the design of these stairs, it just goes straight down, so steep, and I don't like the location...
At the top of the stairs, to the left is the Master Bedroom, and straight and to the right is the Playroom.  There's no hallway, so when the children are running from the playroom to the bedroom, they could easily step too close to the stairs, and fall down.  Actually, this has happened a few times, one of them being with my then one year old!  So yes, these stairs are a hazard, and NEED to go!
In other words, I'd rather just have these stairs ripped out, and would LOVE a spiral staircase!  Ah well, until then...the least I can do is fix them up a bit!
My original thought was to change out the wood banisters, and replace them with wrought iron banisters.  Since I'm planning on ripping the whole staircase out eventually anyways, there's no sense in me spending a lot of money to upgrade them.

Our entire Living Room has wooden walls (which I LOVE), and with the banisters also being wood (brown), it just blended in too much, or maybe it was just too much brown?? 

Before:


After: 


The top of the stairs:

Before:


After:


So on the To Do List for these stairs:

* Paint Banisters
* Repair stairs so they don't squeak anymore!
* Sand, Stain, and Protect!
* Replace missing banister.
* ...and eventually rip them all apart, and replace with a Spiral Staircase!  ha ha

So to get started...since I wasn't being too picky, I didn't even bother sanding the banisters first, nor did I even go out and buy specific paint.  I just used what I had on hand, which was:

Oil-Base Semi-Gloss Enamel


I DID google what Oil-Base paint could be used on though (I've been using it to paint the moulding around the house), and it said it could be used on Cabinets.  Well, my cabinets are exactly like my banisters, so without even thinking things through, I started painting!
Let me tell ya, that 1st brush stroke was a little nerve wreaking...like, "What did I just do?  Am I going to ruin these banisters?  Is it even going to look good up against all the wood that is throughout the Living Room?"
And guess what?  Not only does it look GREAT, but this paint did GREAT on these banisters!  I didn't even need to worry about making horizontal brush strokes, I kind of just brushed it on there every which way.  Once it dried, you couldn't even see brush strokes!  It blended into the wood sooo well!  The oil base is also a little thicker, and so I didn't have many issues with it leaking.  I didn't even need to tape anything down, I just kept a wet wipe handy.
I will say this, it has a strong-strong odor!  I had to give myself many breaks, because at times I'd start to feel loopy! 


And if you're wandering what I mean about all the wood work in the Living Room, here's a few pictures of what it looks like.  These haven't been taken recently, I'm just using pictures I have on file.  I'll update with a recent picture soon.

(pictures have been taken out, so no, I don't have black picture frames on my wall! ha ha)


Thanks for looking!!!  I'll keep ya updated as I start crossing off my To Do List!