2.24.2014

Faux Barnwood Pantry Doors:

After I installed the Decorative Hardware to my Garage Door, I was left with 1 remaining kit.

I've been wanting to paint my pantry doors for awhile now, but it wasn't until I bought the hardware, that I knew what exactly it was that I wanted to do.

BEFORE:


Just look how pitiful this is?


I applied 3 different types of paint to achieve this look...

I used an Interior Glidden paint called TILLED SOIL for the base coat.  Then I brushed on some black chalkboard paint.  I could have just used regular black paint, but chalkboard paint is what I had on hand.  For the final coat, I used
Martha Living specialty finish called HACIENDA.  For the final step, I distressed the edges a bit.

(Just a side note, the first 2 pictures below were taken with my phone...that's why the paint looks neon green.  ha ha)


I didn't worry about the edging, because I'm re-painting the walls anyways...

After the 3rd coat, I put on the Carriage Door Hardware.


My kitchen has a country, shabby chic, farmhouse look to it, so the faux Barn doors go perfectly! =)

~ Jenny xoxo

Check out my Faux Carriage Garage Door here.

Link Party:  Too Cute Tuesday


Faux Carriage Garage Door:

I was at Home Depot the other night picking up supplies for my new railing, when I spotted 2 of these in the clearance section.  The kit sells for around $23.00, and they were marked down to $6.00!  Score!!!


So I left you off here on the garage door.


...and now it looks like this...


This was seriously sooo easy to do!

Wait till you see what I did with the 2nd kit that I bought!
Stay tuned! =)

~ Jenny xoxo 


2.23.2014

Faux Finish...

One of the main reasons why I love this house so much, are the wooden walls throughout the living room.
The problem is, it made the living room seem so dark.


I've been trying to think of ways I could lighten up the room, without losing my wooden walls that I love so dearly. =) 
I started thinking maybe I could leave the main wall that separates the kitchen from the living room, and then paint the other 2 adjacent walls.
I am a very visual person though.  I need pictures to look at first, to make sure it's going to look okay in my space.
I kept searching "wooden accent walls" for months and months, but couldn't find exactly what I had in-visioned.  Then FINALLY, I came across this picture, and that was all I needed in order to make my vision come to life!

  
BEFORE:
(These pictures were taken way back in April of last year.  I forgot to take "BEFORE" pictures before I started painting the walls.  I guess I was excited to get started.)


So I actually used the same technique that I used for my kitchen cabinets...

RUST-OLEUM Cabinet Transformations Kit  


I waited to do the moulding around the french doors, because I wasn't sure if I was going to paint the moulding, or stain them.


A few close ups...


So whatcha think? =)
I would love to hear your thoughts!

~ Jenny xoxo 


2.22.2014

Farmhouse Window:

Last night I was able to pick up all the supplies needed for the railing.  We're not starting that project until next weekend, but we thought we'd get a head start, and make the cuts this weekend.
I can not WAIT to start!!!  It is going to make such HUGE difference with the spiral stairs!

Here is my inspiration:
(picture borrowed from Pinterest)


I love the rustic look that the beams and rebar gives!

Here's where I left off on the DIY Spiral Stairs...


I have a list of unfinished projects going on all at once right now.  I really need to focus on finishing what I've already started before adding something new.  
ha ha  I can't help myself.

Ever since I painted my kitchen cabinets, the wall color just doesn't seem to fit anymore.  I can't wait to start re-painting the walls, but before I can do that, there are a few things I need to do beforehand.

I wanted to give my windows a Farmhouse look by using moulding.  
If you were to search Farmhouse window moulding, you would come across a variety of styles on what "Farmhouse" should look like.
To be honest, I went with the simplest and most inexpensive. 

So on my previous post, I showed you this picture...


For the window above my sink, I used 1x3" pine wood.  I used my nail gun to adhere them to the wall.


I gave the wood 2 coats of paint, and I also painted the top section of wall with the new paint color!
Sherwin-Williams Sea Salt

I wanted a gray tone, possibly a grayish-beige.  I went with Sea Salt, because depending on the lighting, it gives off a grayish-blue tone.  Very calming. 

It looks a bit turquoise in this picture, but it actually looks gray with a subtle hint of blue in person. 


Then I moved over to this side of the kitchen...

BEFORE:


I wasn't worried about "staying in the lines" while painting, because I'm going to be re-painting the walls anyways. =)

These boards are 1x4"


Kind of hard to tell from pictures, but the new framing makes the kitchen appear sooo much bigger!

So before I start painting the kitchen, I'm going to give all of the trim a fresh coat of white paint!  
Hopefully by next weekend I'll have a newly painted kitchen to show y'all! =)

Thanks for looking!

~ Jenny xoxo 


2.18.2014

Kitchen progress and decor.


 I go through phases where I take a break from working on projects, and my focus becomes more on decorating.
I think this past month I've been collecting decorative pieces for my kitchen.  I hardly ever buy NEW, and I love unique pieces!

I love to shop at this place called The Barn!  They sell a huge variety of antique, vintage, rustic, eclectic, and more!

Here are just a few pieces I've added...

Aren't these lovely?  They are old wine jugs, and though I don't drink, I just loved the look of them, and the color!


I have been eying these copper canisters for some time now.  Every time I would go to The Barn, they were always there...begging me to take them home!
And so I did. =) 


How cool is this little guy?!!!
My kitchen doesn't exactly have a lot of color right now.  Once I re-paint my walls to a more neutral color, then my kitchen REALLY won't have a variety of color to it!  Which isn't necessarily a bad thing, but this wonderfully adorable rooster gives my kitchen the pop of color that it needs! 


I have been searching for a new pendant light for some time, but couldn't find exactly what I was looking for!  I wanted something more industrial perhaps, something metal.  I came across this shabby chic pendant light though, and at only $12.00 - I was sold!

As of right now, I'm going to be surrounding the kitchen window with some Farmhouse-style moulding!  The current faucet has got-to-go, but what I'm wanting to replace it with, isn't exactly in-expensive...so I'm saving my pennies! 


I built this mantle from a piece that went to a convertible crib, and some scrap wood!  I'm wanting to create a brick accent wall right here, but that probably won't be any time soon.

And do you see that I still haven't installed the desk drawers?  I need to buy new hinges...
And then the door...eekk. that. door!  Have you ever painted something, and immediately did not like it?!  Well, that's what happened to this door, and I have regretted the color choice ever since! 


And so, the kitchen is slowly coming along! =)

You can read all about my last kitchen update here.

Thanks for looking!

~ Jenny xoxo 


Link party:  Not just a Housewife


2.01.2014

Garage Door re-do:

This past Summer I used Minwax Gel Stain to create a faux wooden look on my garage door.  I meant to go over it with a sealant, but never did.  Over time it started to make a bunch of tiny cracks through the stain, and so I either needed to re-do it, or try something else.
If you're going to use the Minwax, make sure you seal it afterwards!

I ended up trying something different...

The Glidden is called TILLED SOIL, and the Martha Living is HACIENDA:


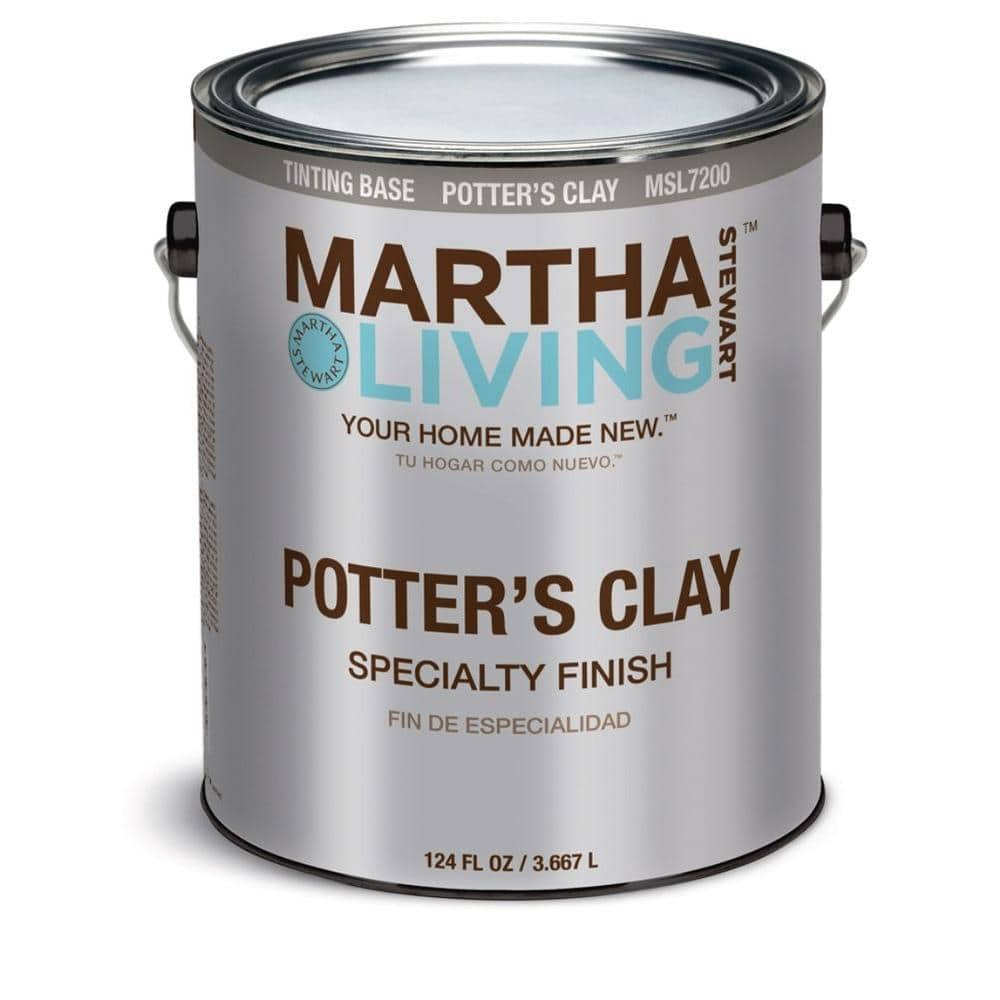
Basically, the Potter's Clay just gave it a very subtle texture look.  Had I known, I may have went with something a little more noticeable. 

I forgot to take pictures of the garage door when it was all crackled, but this is what it looked like when it was 1st done with the Minwax...


And now it looks like this:


I actually really like this color, I think it goes better with the brick.

Eventually, I would like to frame out the garage door with wood.
I think once I put the wooden slats up, paint it all the same color, it'll give it some nice dimension.
I would only be able to do so, because our garage is enclosed.  We converted our garage into another room a while back!

But we shall see.  I need to do a little more research to see what would adhere wood to steel...or if the wood would warp over time, etc.


~ Jenny xoxo