Hey Y'all!!!
If you just now found my blog, my name is Jenny!
I've been married for almost 11 years now, and God has blessed us with 4 beautiful, loving children! As you can imagine, our lives are pretty busy!
We love the outdoors, we love taking road trips, going on mini in-expensive vacations. One of our favorite things to do is rock-climbing!
We love the outdoors, we love taking road trips, going on mini in-expensive vacations. One of our favorite things to do is rock-climbing!
There's just something about it...Once you reach the top, and you're looking out at all the beauty that God has created, it's just a reminder that nothing else matters. The every day stresses...they just go away!
Ahhh...
This is my Family!


This is my Family!

So when we're not going on our little adventures, and it's just every day life...
I enjoy decorating, crafting, working on projects with my Dad and/or Husband, re-modeling, DIY-ing (is that a word?), rearranging furniture over-and-over again, taking pictures, and more recently...blogging!
Then I heard about Pinterest, and that took me to the next level!
Whoever invented this...genius!!!
It was there, where I saw that you can up cycle pallets!!!
I have tried almost everything pertaining to pallets! The pallet wall, pallet shelving, pallet coffee table, framed pallets, chalkboard pallets, and my Pallet Art! It seems that out of everything I have made, "Pallet Art" seems to have been the biggest hit!
So I'm going to show you just how easy it is to make one yourself!
Start off with a pallet!
I find a lot of my pallets next to dumpsters, but you should still try and ask before taking them. Shipping Pallets are expensive for companies!

I use a Circular Saw to cut the wood into pieces. I don't even bother trying to take the nails out! They are next to impossible to remove!
I get a little bit nervous using a Circular Saw, so I usually ask my husband to cut them for me. =)

Layout your wood pieces how you want them.
The bottom side needs to be level, but your top side doesn't have to be perfect.

Drill your holes first with a drill bit...
(yes, on this pallet...I used leftover moulding! ha ha)

I use Wood Glue AND screws!

Then just screw the boards down!
It's that EASY!

For this type of distressing, I used 2 paint colors.
Black & Aqua!
The first coat doesn't need to be perfect, mainly focus on the edges.
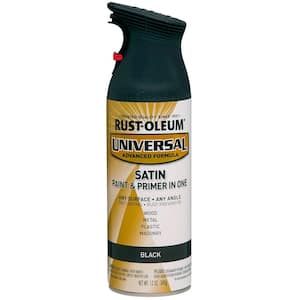
In this case, I used a black spray paint.

Once the black dried, I went over it with some aqua paint!
Just like the black, it doesn't need to be perfect. You're going to be sanding it down anyways to get the distressed look!


I used to sand by hand, but the electric sander is a whole lot quicker!

See how the black shows through?...


If you have a Cricut machine, it will make your life sooo much easier when it comes to doing the lettering.
You just type in what letters or designs you want, and it cuts them all out for you! They sell different Cricut machines, so just do a google search if you're interested in one! =)
This is me peeling off the letters...


...and it even comes with a cute little spatula to help remove the letters from the sticky mat!

I lay out all of my letters on the board first, just so that I can rearrange them if need be.

Next I apply the mod podge! You can use the mod podge as a glue AND sealant! Glue the letters down first using the mod podge. Then brush over the top of the letters, and entire pallet with some more mod podge!

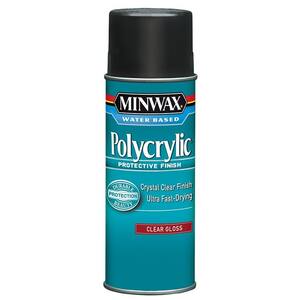
Once the mod podge is dry, I also spray it down with some polycrylic!
And here they are!!!


Just so you get an idea of how big these are...
Here I am standing next to one!

I would LOVE for y'all to stay awhile, follow me on Facebook, or Google!
I enjoy re-modeling/DIY projects JUST as much as I enjoy crafting! So if crafting is not your thing, you may enjoy the remodeling & DIY projects that I post.
Be sure to check out our Spiral Stairs we put in, and the demolition of our old stairs!! Or how we transformed our open Living Room/Dining Room space by closing the Dining Room off, and making it a separate room.
If you enjoy the more simpler DIY projects, I have a TON of those too!
I LOVE "simple & quick"! ha ha
Like, creating a little Hallway Organization by adding a 1 x 6 board and some hooks!
Thank You so much for stopping by!!!
I hope y'all have a blessed day!
~ Jenny xoxo