We started off the morning by cutting all the pallet wood down for another project I'm doing soon...
Oooo...Ahhh...my stack of wood! Can't wait to get started!
Then it was onto the FLOORING!!!
Like I said, I didn't help much with this (I had cleaning & motherly duties to tend to!)
So I know there's a lot of measuring...
...and cutting...
...and 45 degree angle cutting...
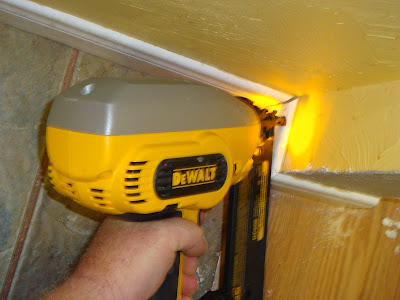
...and nailing...
...and here's what it looks like BEFORE caulking & painting...
In this picture, you can see the quarter moulding...
This is where you would put T-Moulding down, the transition from one flooring to another. It comes with this plastic looking track, and you would nail that down, and then just pop the moulding into the track. Not as easy as it sounds, the track is this super cheap plastic!
My Dad usually just ends up gluing the T-moulding down! Ha Ha
More measuring...
More cutting...
Oooo...Ahhh...
The Staining is what I did!
Using a rag, I just rubbed the stain onto the wood. Because there was wood on either side of my quarter moulding, there was no need to be careful what else the stain got onto, because it just wiped right up!
Quarter Round Moulding around the Entertainment Center:
Quarter Round Moulding around the Stairs:
We are actually putting moulding in every room upstairs, and a few places downstairs that we missed from before, but I only took pictures of the upstairs playroom:
This is a picture of moulding & quarter moulding with caulking, but it hasn't been painted yet.
Current hallway: Still gotta lay down T-Moulding!
Thanks for looking! Whatcha think? Can you share any tips?


No comments:
Post a Comment