After painting the Kitchen & Dining Room, the brass chandelier and maroon-colored shades had to go!!!
So the first thing on the agenda was to spray paint the chandelier!
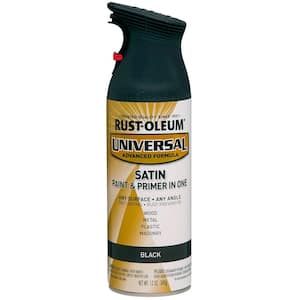
This is the Spray Paint I used...
Rust-oleum Universal Satin Paint & Primer In One
Neither one of us knows anything about electrical work, and that would include taking down a chandelier from the ceiling!
So for us, it was just easier to spray paint it while it was still hanging from the ceiling. I would highly recommend taking it down though, and painting it in an open, well ventilated area...like maybe outside!
Also, the spray paint will settle to the ground, or on any surface.
In our case, we have tile, and all other surfaces are wipe-able.
For the main paint job, my husband stood on the opposite side of me holding a plastic tarp. For the touch-up, I would do quick short sprays, and didn't need the tarp.

This is why I said it's better to do this outside!
This was just the FIRST pile of mess I swept up!
It took a few times of me mopping the floor to finally get all the black off!
The black paint turns into a dust once it settles.

But in the end, the clean-up really wasn't so bad.

Next step was to cover the maroon-colored shades...
I used Burlap Ribbon & the hot glue gun! That's it!


TA DA!
An inexpensive upgrade to my chandelier!!!

Here's a picture with the lights off...

Thanks for looking!
~ Jenny xoxo
No comments:
Post a Comment