This past Thursday I was headed to Home Depot to pick up some supplies for my stairs. You have heard me say before how much I hate my current stairs! I first tried to fix them up by painting the spindles...you can read about that here.
So on Thursday, I was going to paint the steps with some Porch and Patio Floor Paint, and then put bead-board on the back of each step. It was actually going to look pretty good...well,...good enough.
My Mom was with me, and she suggested that maybe we go look at Spiral Staircases instead.
I have always wanted a spiral staircase! I've even hinted around from time-to-time how "spiral staircases" would be a GREAT big 3-0 birthday present! hee hee
We showed up to the Showroom, and boy!!!...did we get lucky!!!
They were soon going to be relocating their Store, and so they discounted their showroom pieces to 50% off!
To my surprise, my Mom handed me over her credit card!
Happy EARLY Birthday to ME!!! =)

Since this was on a whim, we didn't really have time to plan out exactly what we were going to do with them.
I actually helped the guy disassemble it, since he was the only one working that day. My husband was able to show up a few hours later, and help load it into his truck, and 5 hours later, we arrived back home!

We just so happened to be on Spring Break, so that very next day we began the installation process!
Funny thing is, I had JUST made a blog post about a little tweaking going on in my Living Room, where I had added a few more curtains...

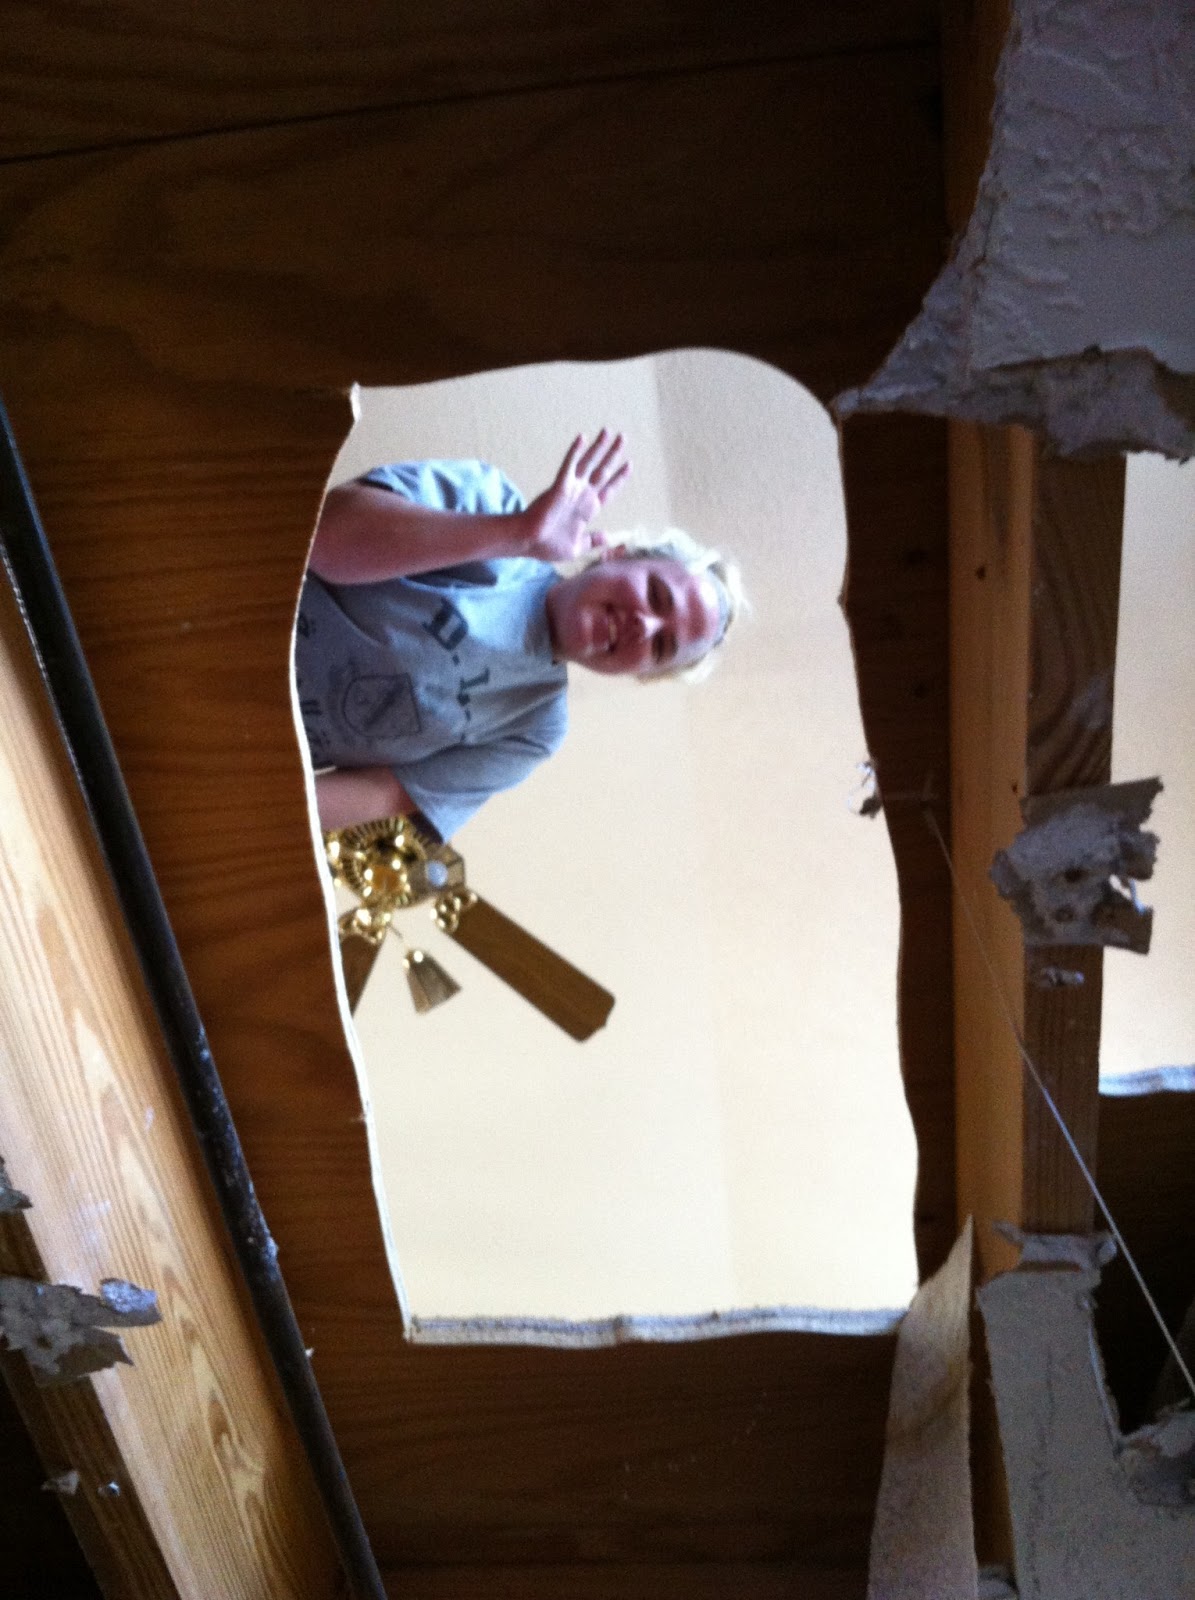
...and just 2 day's later my Living Room looked like THIS!

From then on, we started running into problems...
After cutting into the ceiling and flooring, we ran into a bunch of wires on the one side of the hole, and a gas pipe right in the middle of the hole!

At this point, (if it were ME) I would have called it quits, given up, and waited until I had enough money saved up to hire someone to do it for me! LOL
...but my Dad had a plan!!!
The wires were basically there to stay, but my Dad was able to cut the gas pipe (after turning off the gas), and plugging it back up! That side of the gas pipe lead to the dryer, but since we have an electric dryer, we didn't really need the gas anyways.

 |
...and at the end of Day 1, it looked like THIS!...

Day 2 looked a little like this...
I love this picture, because you can see the light that will now shine through from the 2nd floor window...

On this day we worked on installing the landing. This thing weighed a TON, and I had to hold it up while my Dad bolted it in! I was so worried my fingers were going to get smashed in between the landing and the floor! Either that, or I was going to lose my balance, and fall through the hole! Eeek! Just thinking back to that moment makes my hands start sweating again!

By the end of Day 2, we also had the steps aligned, and the spindles on!

On Day 3 we worked on more of the framing, and finalizing the hole!
Since we didn't have time to work on the upstairs railing, we had to board up the hole so that no one would fall through!

Monday came along, which meant back to work...back to school!
The night before, we realized we weren't going to have enough railing for the layout of our hole design.
So I drove back down to the Iron Shop, and they loaded me up with more railing pieces.
I had to figure out the hole measurements on my own...and, while it was all covered up with boards!
I was quite proud of my drawing...

So I sent the picture to my Dad, and a few minutes later he sent me back this...

LOL
The railing pieces we were given were just extra he had back in stock, so we were given those for FREE!
The problem with that was...we had to work with what we had...which proved to be a small challenge.
As you can see, until we get some more proper hardware, and my Dad gets creative with some welding, we had to tape up different sections.
I'm also ordering a Banister Guard made by KidKusion KidSafe to wrap around the spindles.
So in the meantime, we have this all blocked off from the kids, but here's what it's looking like at the moment...

Tomorrow my husband & I will be working on the Handrail and the design that goes in between the railing spindles.
Be sure to check back!
There's a lot involved in this whole project! Still LOTS to do!
~ Jenny xoxo
No comments:
Post a Comment