I woke up this morning, and couldn't move...every inch of my body is sore! This past weekend I ran my 1st Graffiti Run 5K...actually, my 1st 5K EVER! It was only 2 weeks ago that I couldn't even run a mile!!!...but more on that later!
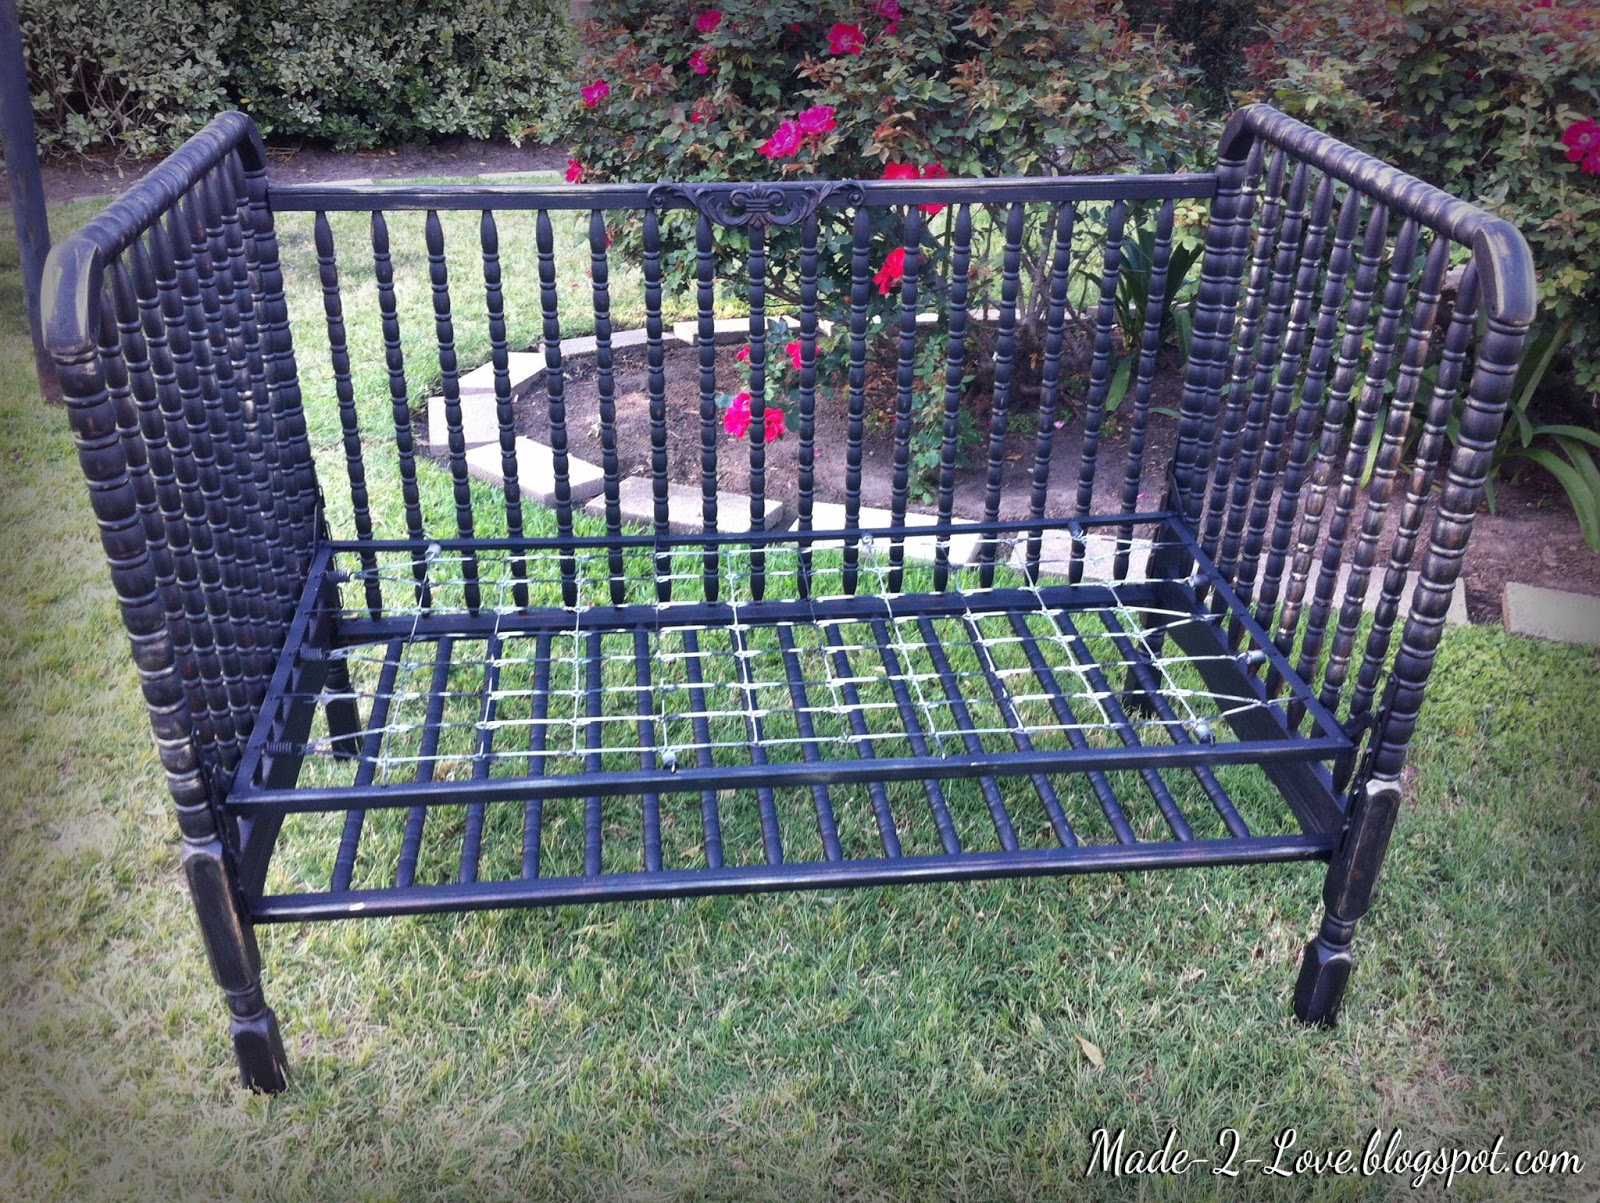
Before then, I was working on another bench project, this time from a crib.
A Jenny Lind crib, to be exact.

I would say that this was a lot easier than the bench I made from a headboard/foot board, because I basically built it the way you would assemble it as a daybed/toddler bed. The only difference is that, I screwed the pieces together, rather than use the same hardware that came with the crib. By doing it this way, I was able to use one of the sides as a shelf to go underneath.
The very first thing I did was cut off the bottom of the legs. I did this because I wanted it to sit lower to the ground like a bench.
The picture below was after all 3 sides were screwed together, but before I added the shelf...

...and here's after...

I'd like to give a shout out to my awesome hubby for helping me with this! The pictures make it look easy, right? ha ha...wrong!
You should have seen me trying to hold all the pieces upright by myself!
Now onto the FUN part...painting & glazing...then sanding it all down to give it a distressed look!
I used Rust-oleum Universal Paint & Primer In One...

If you're going to be painting a crib as well, you really need 3 cans of spray-paint, but could get by with 2.
After that dried, I went over it with a Golden Glaze.
Martha Stewart has one that I really like...
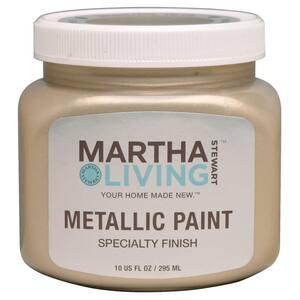
I used an old towel to rub some on and around the creases. You don't want to cover the entire piece with glaze...ha ha Just a bit here and there.
Then sand the whole thing down!!!
...but just like the glaze, just a bit here and there, and pay special attention to the edges. Just to give it a natural distressed look.
Here is a close-up picture so you can see what I mean...

I bought this metal design from Hobby Lobby to add to the back...


Wouldn't this be such a cute reading nook for the kids?
You could keep their books underneath on the shelf...


...or you could add some baskets underneath.
Maybe use it as a bench at your entryway...
Of course, the way this was built...there IS a weigh limit, so I'm sure you'd only want the kiddos to be sitting on this. =)
Here's a side-by-side view of a Before & After...

Now...back to my Graffiti Run...
It was a BLAST! I highly recommend you checking one out in your area!


God Bless!
~ Jenny xoxo

No comments:
Post a Comment