The last time I posted, I shared with you the Shabby Chic Dining Table. I was FINALLY able to finish the 2nd part of this project...the China Cabinet!!!
To be perfectly honest, I had a love/hate relationship while painting this china cabinet! It turned out to be A LOT more time consuming than I originally thought it would be! It wasn't just painting the outside, but I also had to paint all of the inside. It just felt like it was never-ending, and boy am I glad it's DONE!
Looking at it, it was sooo worth it...but would I do it again? Ummm...ha ha...maybe once all of my children are in school, and I actually have TIME to myself!!!
So I actually took an official "before" picture of the china cabinet, but I can't find it...either I accidentally deleted it from my camera before saving it, or I took the picture with my iPhone which is now corroded from baby drool. Yes, the story of my life. =) Tee Hee
So here it is BEFORE:

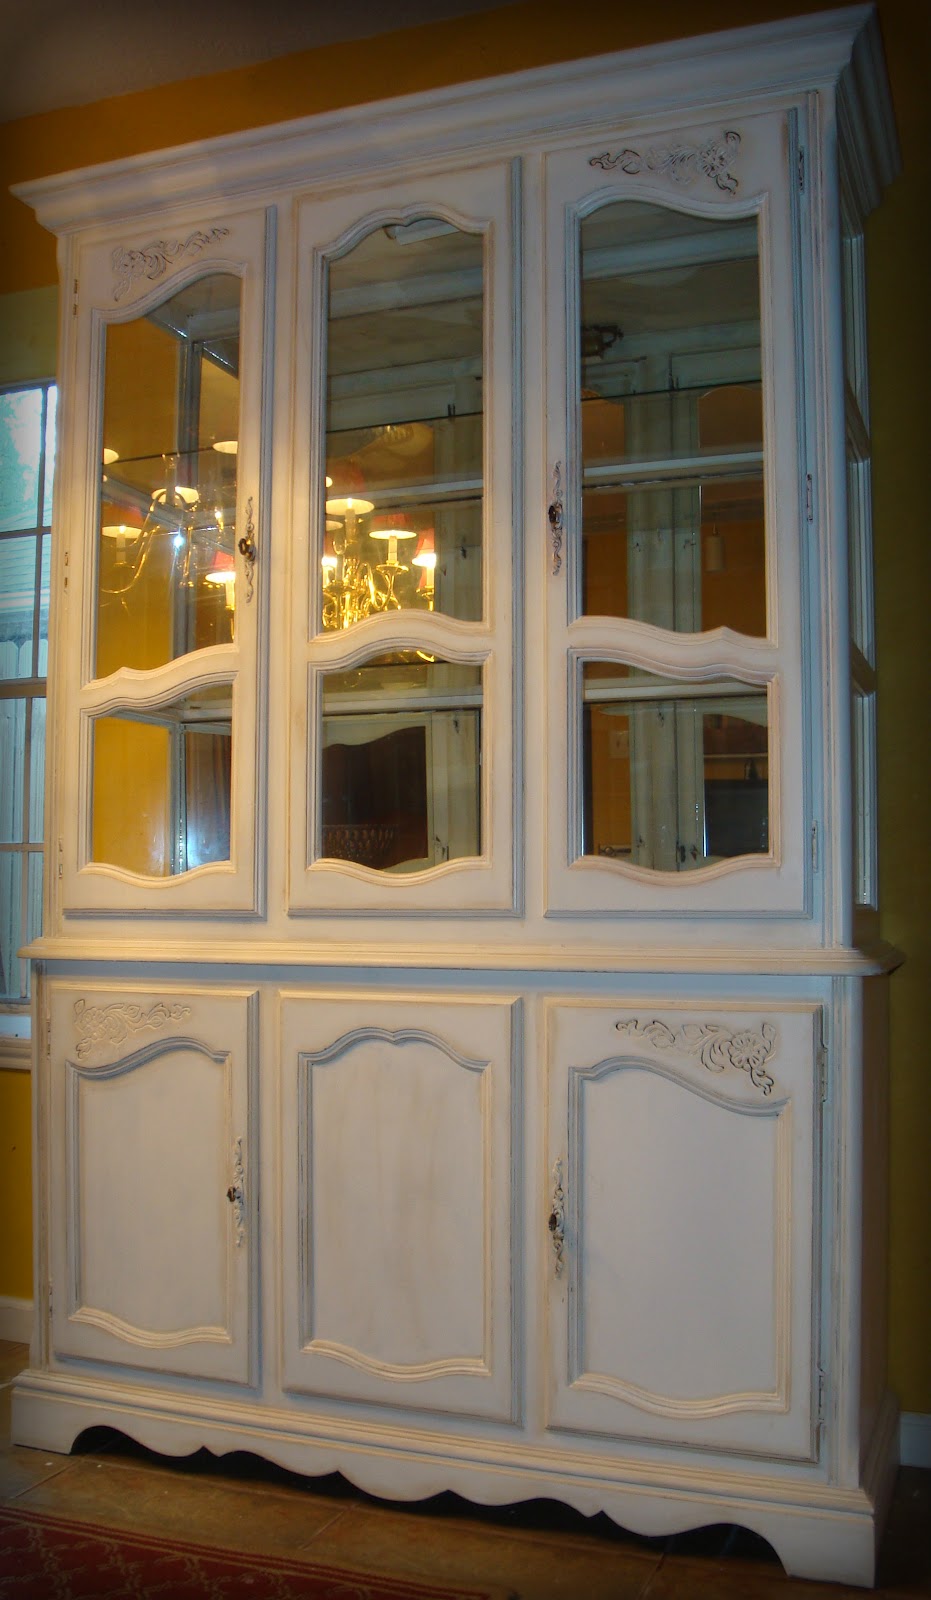
Here is AFTER:

But let's go back to the steps on what it took to get to the "after"...
PAINTING this beast! Inside and Out!

After the paint is dry, I then applied the stain...
I basically just applied the stain all around the creases. I do this step in small sections, so that I can rub the stain back off almost immediately, so as to leave just a light tint...
In the picture below, you can see how I applied the stain at the creases of the cabinet...this was "before" I rubbed the stain back off.

And here's what it looks like right after I rubbed the stain back off...see how it just leaves a light tint?

Next step: sand the edges down a bit to give it more of a distressed look...


And here are some more AFTER pictures:


Here it is loaded with all of my china...


Thanks for looking! =)
God bless.
~ Jenny xoxo
No comments:
Post a Comment